1. Textual Inversion for Generating Copyrighted Material 🐉🔥
Prologue
With the website quickly done, I still had time for another April project. I am currently taking a course on deep learning in computer vision, where we covered diffusion models for some weeks. A few weeks ago, I was not able to do the task on textual inversion. We were given most of the code, but the code stack was kind of a mess to get an overview of, and as a result, I could not generate anything remotely interesting. I was thinking to myself that it was not supposed to be that hard to implement, which is why I went to the internet. And as I should have thought, I was led to Hugging Face 🤗
Textual Inversion
Let’s start from scratch: “What is textual inversion?”
So, diffusion models like “Stable Diffusion” use (most notably) text to generate images. In order for these models to use that for anything, we need a model that learns comparisons between training images and their respective text labels. For this, a common solution is to use the CLIP model. This model encodes text and images in pairs, into a latent space, where the model tries to learn the encoding that increases similarity between image and text in each pair. Each <token> now has its own latent representation that, through the prompt, guides how the diffusion model should produce an image.
But what if I want to create an image of something very specific that can’t be captured by a prompt? Do we then need to retrain the entire diffusion model? Luckily no, since the diffusion model and CLIP model are completely independent of each other. Instead, we use textual inversion to create a new embedding, that belongs to the same latent space that the CLIP encoder captures. This requires us to use a few images (5-7 should be plenty) that belongs to that embedding, in order to start.
To make it easy for ourselves, we can initialize a new embedding from an existing similar one. Then, we update the embedding directly, by optimizing wrt. the predicted noise of the diffusion model, similarly to how we’d normally train a diffusion model. This entire process should be done while freezing all parameters that are not the embedding.
This was a very brief overview. For more information, visit the original paper: An Image is Worth One Word: Personalizing Text-to-Image Generation using Textual Inversion
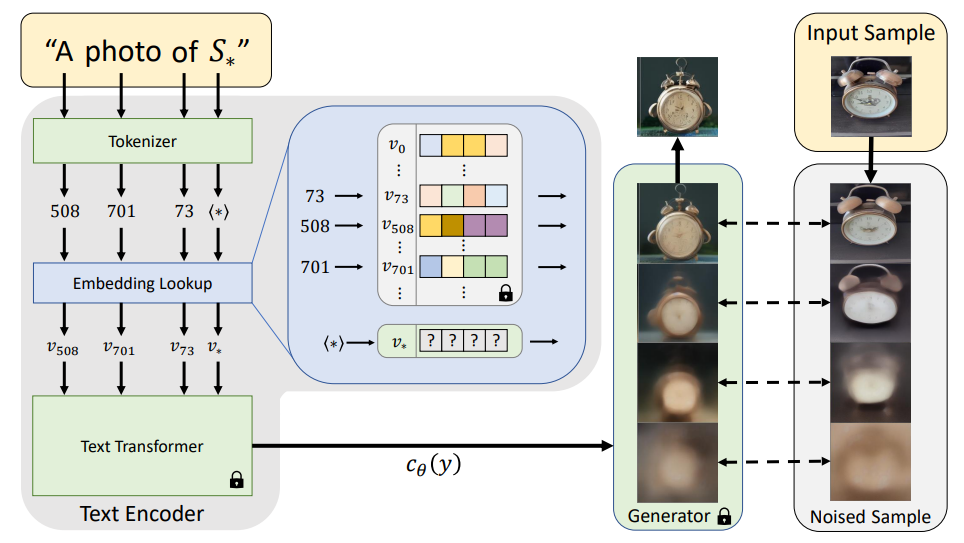
TLDR: I have some specific images of an object or style, and I want my diffusion model to learn to represent that. This is done by teaching the model a new embedding vector.
Alright now, let’s get to work!
Hugging Face 🤗
The journey starts at a Hugging Face tutorial, which forms the base of this (rather small) project. All the “logic” has been provided, so we only need to concern ourselves with data, training parameters, and inference. These are the only things we need to define before running the training code:
import os
os.environ["MODEL_NAME"] = "stable-diffusion-v1-5/stable-diffusion-v1-5"
os.environ["DATA_DIR"] = "./charizard"
os.environ["HUGGINGFACE_HUB_TOKEN"] = <HUGGINGFACE_HUB_TOKEN>
The downside of relying solely on Hugging Face’s implementation, is that it only works for the simpler Stable-Diffusion v1.5 models, and not the more impressive v3.5 models. This is not because of model complexity per se, but rather that the newer models don’t use CLIP (or in the same way at least)
Dataset
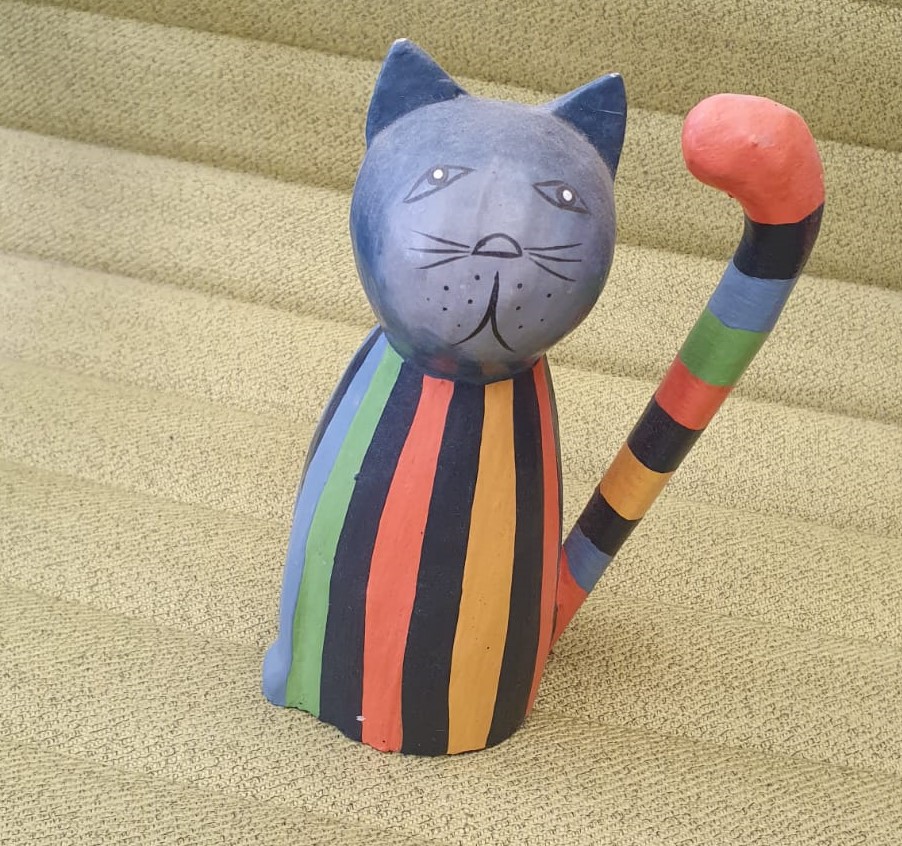
In the tutorial, we are creating an embedding of a weird cat-like statue:
But I have a better idea: Let’s instead create an embedding for the famous Pokémon Charizard:
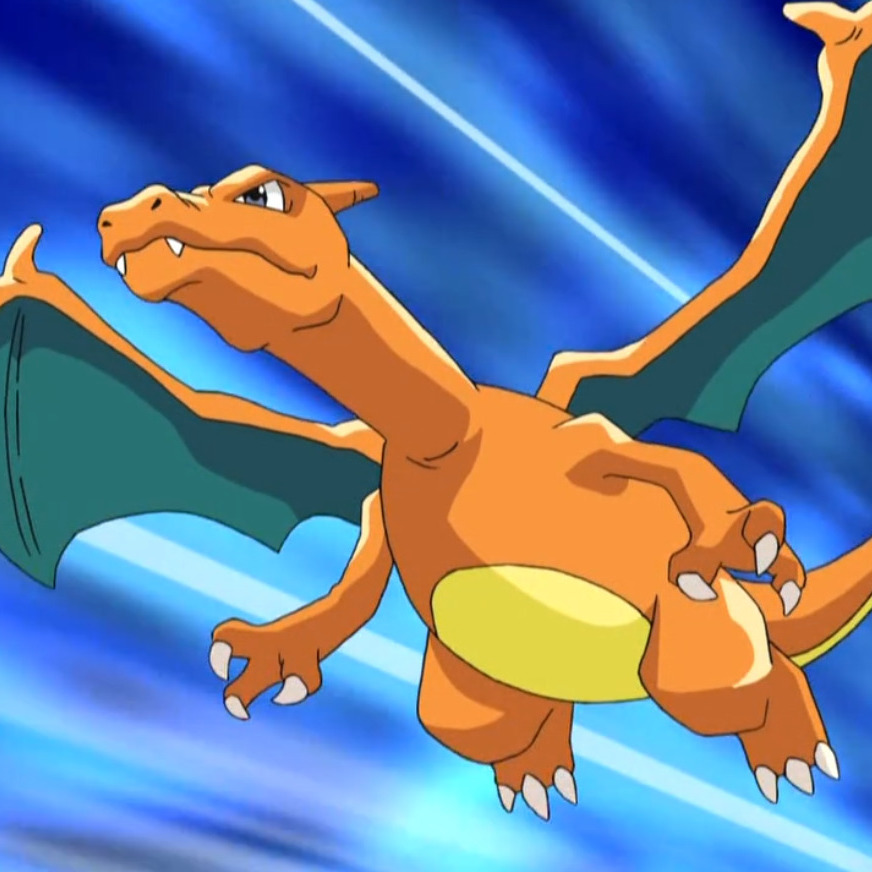
It was very straight forward to create a custom dataset instead, as it simply required one to have a folder with images in, and then pass the folder name as a training argument.
I used a collection of Pokémon images from a Kaggle dataset. It contains a total of 52 images of Charizard (as well as all other Pokémon), but not all of the images are of great quality. I picked the 7 cleanest ones for this project.

Training
With most of the code given, and the images selected, the training really comes down to the choice of training arguments - all of which are defined in this script
I could tune on this all day, but this was the arguments I ended up with:
import torch
torch.cuda.empty_cache()

!accelerate launch textual_inversion.py \
  --pretrained_model_name_or_path    =   $MODEL_NAME \
  --train_data_dir                   =   $DATA_DIR \
  --output_dir                       =   "textual_inversion_charizard" \
  --learnable_property               =   "object" \
  --report_to                        =   "wandb" \

  --placeholder_token                =   "<charizard>" \
  --initializer_token                =   "dragon" \

  --resolution                       =   512 \
  --train_batch_size                 =   1 \
  --gradient_accumulation_steps      =   4 \

  --gradient_checkpointing           =   True \
  --mixed_precision                  =   "fp16" \
  --enable_xformers_memory_efficient_attention \

  --max_train_steps                  =   2000 \
  --learning_rate                    =   1e-2 \
  --lr_warmup_steps                  =   100 \
  --scale_lr                         =   True \
  --lr_scheduler                     =   "cosine"
Small comments on this: I use “weights and biases” (wandb) to track losses live during training. Also note that we can choose to train either an “object” or “style” embedding.
Even though the training process is dependent on many parameters intertwined, I’d say we can still group tuning into at least these few categories:
- Convergence
- Memory efficiency
- Architecture (but this is out of scope for this project)
Convergence
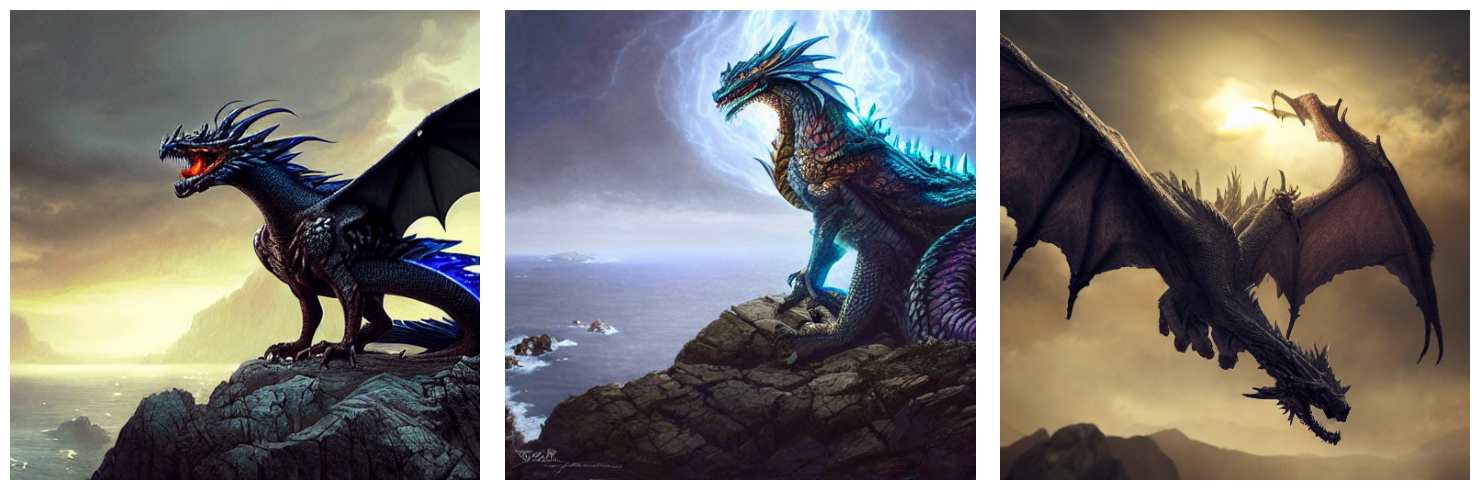
I chose to initialize the embedding as a “dragon”, as “Charizard” is also a dragon - even though it’s a Pokémon as well. As “Charizard” is just an animated character, it doesn’t fully represent a dragon as we know it from fantasy. To see what dragons might look like with SD v1.5 model, consider the following examples:
Despite tuning a lot with learning-rate, learning-rate scheduling, warmup steps, and learning-rate scaling, I usually get loss curves like this:
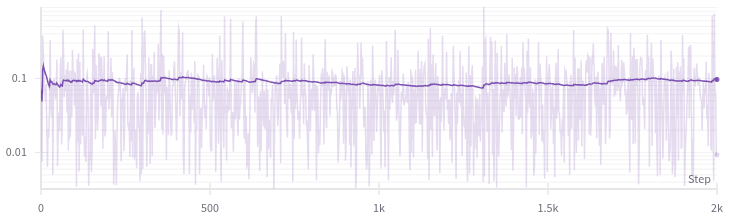
This shows absolutely no sign of learning, even though, the embedding is definitely better than the initialization, or at least closer to a “Charizard” (which should be evident from the results)
Memory
As always when working with deep learning on image data, memory quickly becomes an issue, as we usually want fast training + high resolution images. Getting most out of one’s GPU is not a trivial task; therefore we need to utilize as many optimization tricks as possible. But first, let’s check out the stats of the GPU we are using.
Unless you are a gamer, it is unlikely that you own a modern NVIDIA GPU that is suitable for training DL models. Google Colab therefore becomes a good first choice for (cloud) training. But I actually have a GPU locally, meaning that I should consider which GPU (and setup) I prefer.
Let’s start by considering the GPU specs. Free tier users on Colab get a Tesla T4 GPU, and I own a GeForce RTX 2070 Super:
| Tesla T4 | GeForce RTX 2070 Super | |
|---|---|---|
| GPU Memory (VRAM) | 16 GB | 8 GB |
| FP16/FP32 Compute Performance | 8.141 TFLOPS | 9.062 TFLOPS |
| Memory Bandwidth | 320.0 GB/s | 448.0 GB/s |
| Power consumption (TDP) | 70 Watt | 215 Watt |
| CUDA Cores | 2560 | 2560 |
Stats are taken from here
The Tesla GPU provides double as much VRAM, which is awesome, but the RTX 2070 GPU is faster. Another thing is that when working on Colab, you are assigned a “session”, which you can be disconnected from. On the other hand, running training locally means that the PC is noisy, and can’t run other GPU heavy tasks. In conclusion, Colab might have a better GPU in my opinion, as I value VRAM a lot. Despite that, I think the ease of running things locally is what works best for me, so I opted with running the training locally.
With the limited VRAM, I have to be extra cautious about memory use. I need some tricks!
Mixed precision
In order to update weights and gradients with high precision, 32-bit precision is usually used ±3.4x10^38. To reduce the amount of memory for storing these large numbers, we use mixed precision. This means that for certain calculations and weights, only 16-bit precision is used ±6.5x10^4. We risk losing some precision, but get a significant memory increase in return, and usually also a speedup with certain optimized hardware.
Gradient Checkpointing
As I understand it, a lot of memory is used during backpropagation because we store all activations. Therefore it is sometimes preferable to only store some of the activations, and recompute the others. This obviously requires more compute time, but it saves a lot of memory as well.
xFormers
Transformers are present many places throughout stable diffusion, and by using xFormers we get almost risk-free optimizations, like reduced VRAM and faster computation. Even though we don’t train the transformers themselves, they are still used in training.
Gradient accumulation
Despite all the optimization tricks, I was not able to create a 512x512 image, using a batch-size of more than 1. I was not willing to reduce the image resolution, so I figured out an amazing trick, that I have already used for other DL projects: gradient accumulation. When increasing the batch-size, much more data is contained in memory. This is what allows models to utilize the parallelization ability of the GPU.
While mini-batching lets you compute gradients over all element in the batch, gradient accumulation computes the gradient over multiple batches. So, when you can’t fit a larger batch-size into memory, but still want a better gradient estimate, you can use the next batch(es) as a part of the estimate, before updating weights. In this context, effective batch size is the total number of samples that went into a gradient estimate:
eff_batch_size = batch_size * gradient_accumulation_steps
To clarify, gradient accumulation kind of gives you a larger batch-size, but the accurate expression is that the “effective batch size” increases.
While batches can be processed in parallel, gradient accumulation requires a full forward+backward pass for each gradient accumulation step.
DeepSpeed
DeepSpeed is an open-source library by Microsoft that can add significant performance boosts to model training… if you utilize multiple GPUs. As neither Colab nor my local setup has this capability, adding DeepSpeed doesn’t really add anything. It might have something especially for single GPU use, but it did not seem to have an actual impact on my model.
Results
Now that the model has been trained, the only thing left is to create some prompts, and generate some images. The inference code looks something like this:
from diffusers import StableDiffusionPipeline

# Load the base model
pipeline = StableDiffusionPipeline.from_pretrained(
    os.environ["MODEL_NAME"],
    torch_dtype=torch.float16
).to("cuda")

# Load your custom textual inversion embedding
pipeline.load_textual_inversion("textual_inversion_charizard", placeholder_token="<charizard>")

# Prompt model
prompt = "Something ... <charizard> ... something"
image = pipeline(prompt, num_inference_steps=50).images[0]
image.save("out.png")
The strategy was quite simple. In my experience, some keywords/tags seem to be more effective than others, which is why I used ChatGPT to craft a diffusion prompt from natural language. Tags like “8K” and “ArtStation trending” seem to be associated with higher quality images. I assume that newer models have natural language capabilities incorporated - but that is not the case for the early stable diffusion models.
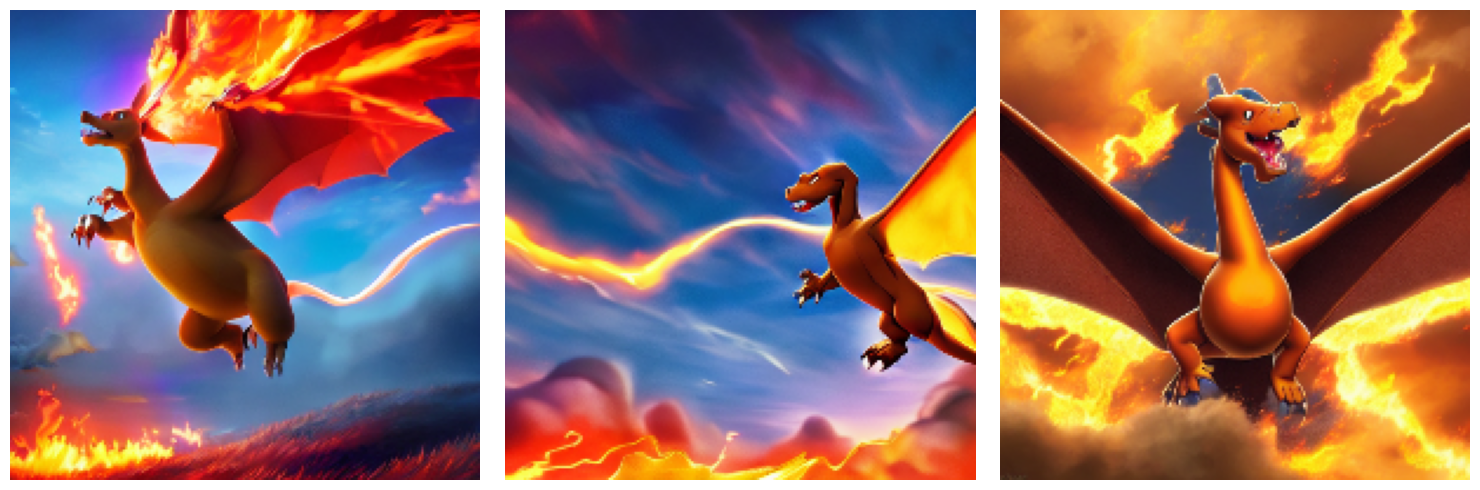
My first attempt at a prompt was to create a more or less realistic looking Charizard, which the model interpreted as smooth 3D-like:
prompt = "A hyper-realistic cinematic illustration of <charizard> soaring through a dramatic sky, glowing embers around it, wings spread wide, powerful fire breath, epic lighting, golden hour, volumetric light, ultra-detailed, 4k, concept art, artstation, trending on ArtStation"
I then realized that the training images were all of a cartoon style, so my intuition was now to create a more cartoony look:
prompt = "<charizard>, a dragon-like Pokémon with blazing orange scales, roaring as it flies through a stormy sky. Flames burst from its mouth, lighting a volcanic land with lava and obsidian cliffs. Hyper-detailed digital art, vibrant colors, cinematic lighting, realism meets anime. ArtStation trending, 8K, dramatic scene with smoke swirling around its fiery tail"
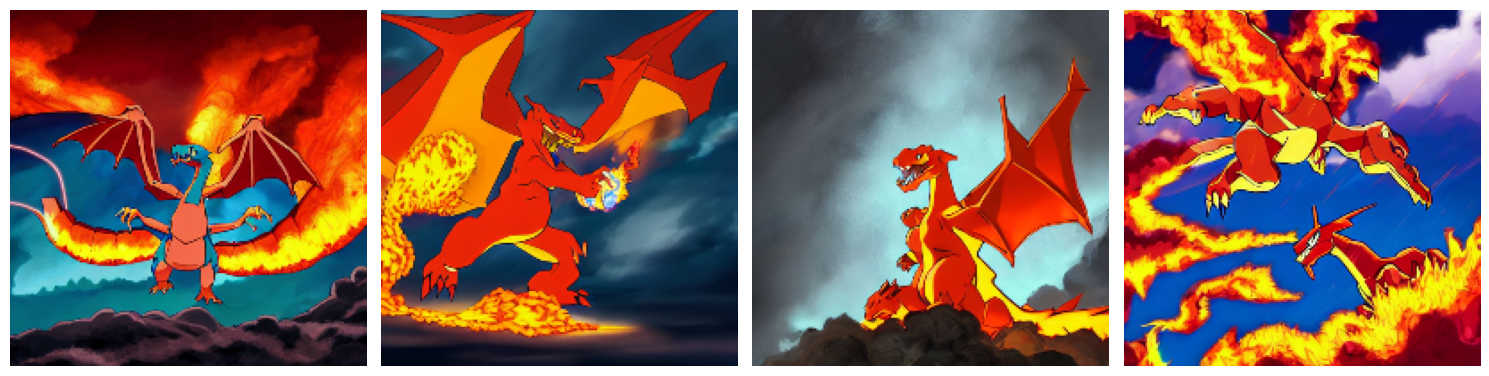

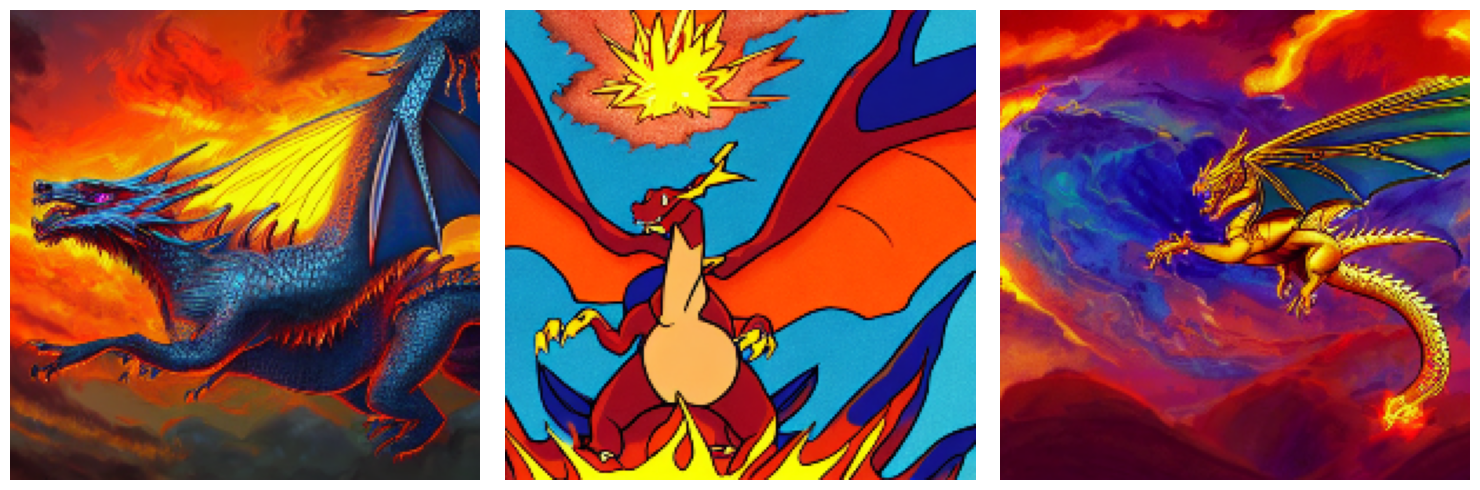
The results were interesting but not impressive. I was then unsure if the training had gone wrong, or if the model is simply very bad. I then tried the following prompt, where I switched out “dragon” with “<charizard>” in one of the 3 cases. You can probably guess which.
prompt = "A breathtaking, ultra-detailed cartoon illustration of dragon, majestic and powerful, flying through a dramatic sunset sky, vibrant and saturated colors, intricate fire and smoke effects, cinematic lighting, highly polished fantasy art, masterpiece, 8k, extremely sharp and clean linework, professional character design"
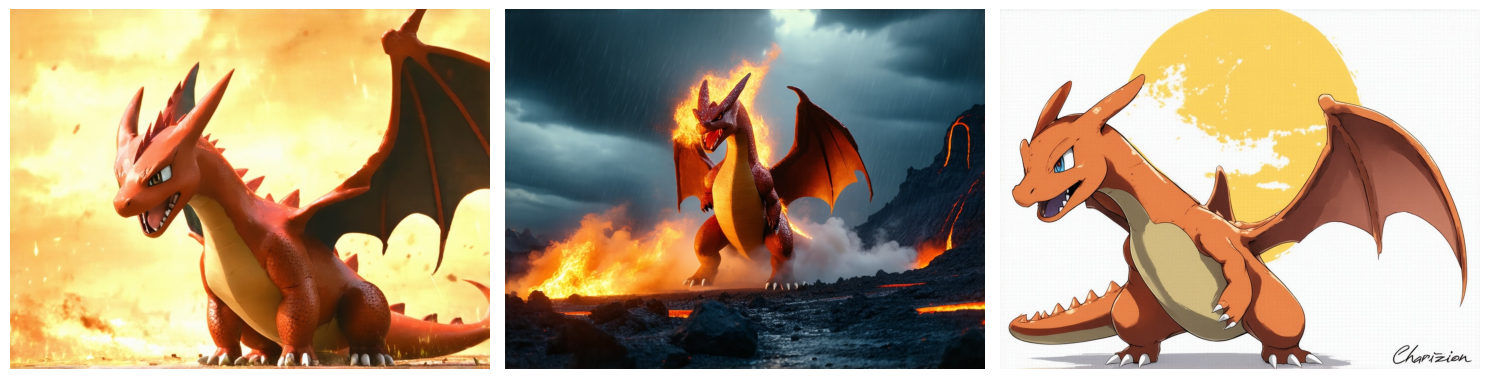
Just for comparison, the following images are from using the prompts “Charizard” and “Charizard cartoon” on the stable diffusion v3.5 large model without textual inversion:
Reflection
While not the quality I had hoped for, it was still fun to work with training optimizations, and especially to observe the monstrosities that the model created. While the simple SD v1.5 is quite small/simple, it is very accessible, and should also be quite simple to fine-tune using LoRA (which I look forward to in the future).
I am not entirely satisfied with my efforts in lowering the training loss. I should have been more meticulous in tracking losses from the start, and tuning more responsively. The Charizard embedding could have been of much higher quality.
Now that I have become slightly more accustomed to the Huggingface API, I think a next step in this domain would definitely be to try larger models, and to do some more heavy training.